You have seen the cakes that look like a greasy burger or a stack of pancakes. They trick your brain for a second. Hyper realistic cake recipes are everywhere on social media right now. But here is the truth most creators hide.
Those fancy sculpted cakes take three days and break your wallet. For 2026, the smart trend is not realism for shock value. It is realistic texture you can actually eat. That is where a simple pancake cake recipe becomes the real viral star.
What is a Hyper Realistic Cake in 2026?
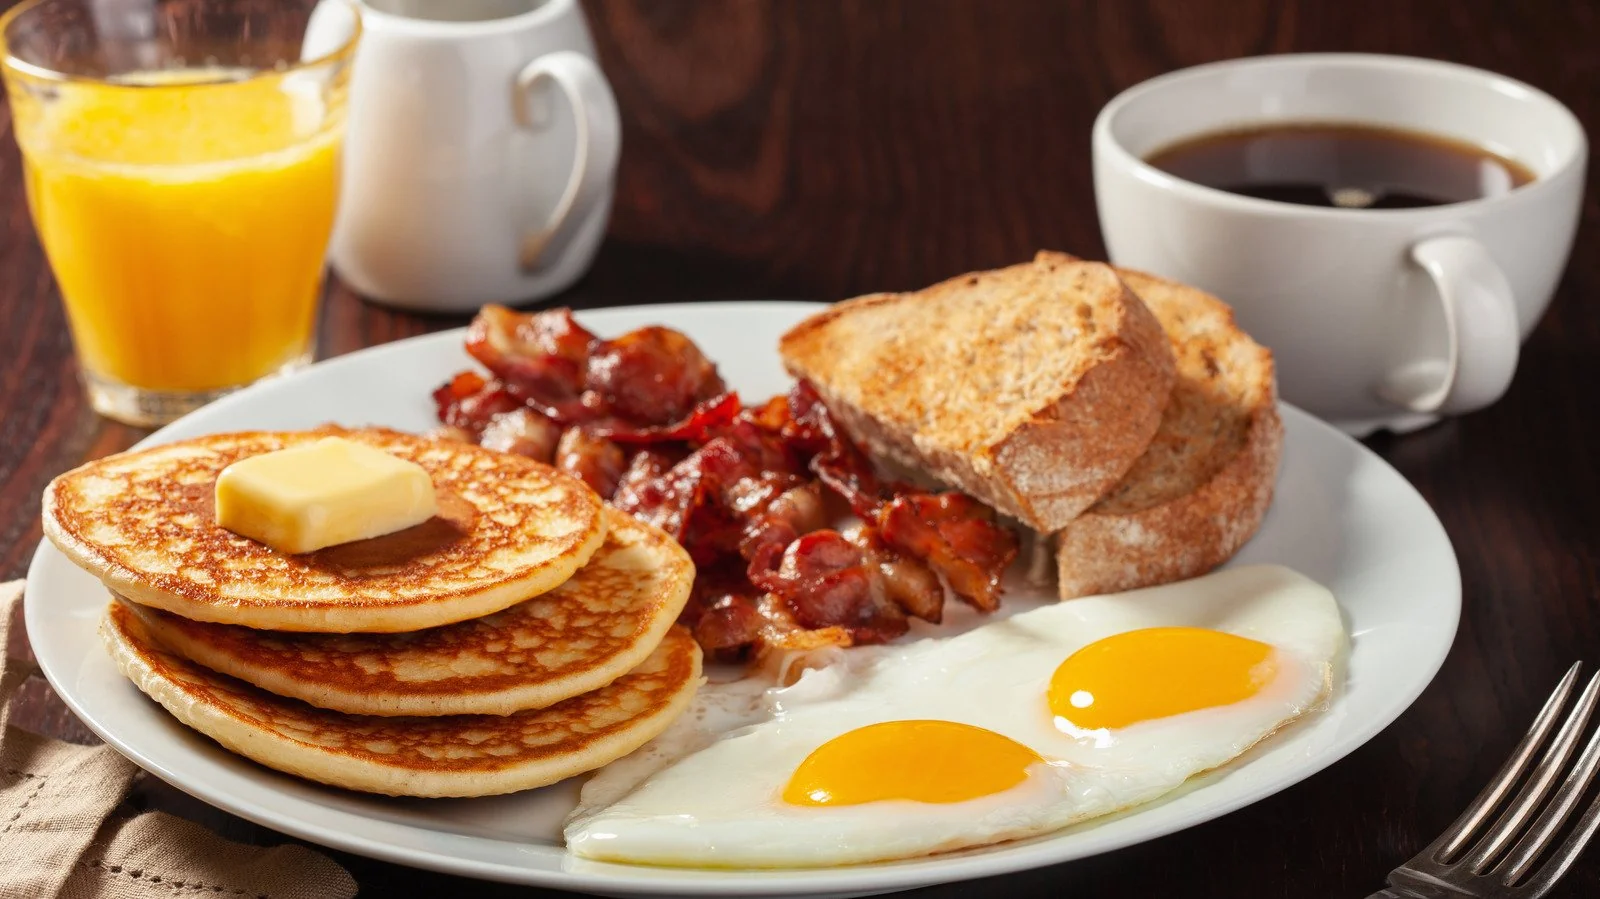
A hyper realistic cake mimics an ordinary object. A shoe. A watermelon. A stack of pancakes. In 2025, the trend shifted toward “breakfast imposters.” Google Trends shows pancake-shaped cakes are up 210% in searches this year.
Read Also: Aldi Mini Dessert Cups Review: Sweet, Simple, and Surprising
But here is the catch. Most tutorials push you toward fondant and rice krispy treats. That is old news.
The 2026 shift is about textural realism. Not just looking like a pancake. Feeling like one when you cut it. A good hyper realistic cake should fool the eye for two seconds and then taste like proper cake.
I tested four methods last month. The pancake-style cake won for three reasons. Cheap ingredients. No sculpting skills. Real maple buttercream.
Why a "Simple Pancake Cake Recipe" is Better Than Sculpted Cakes?
Beginners panic when they see carved cakes. You need foam. You need wires. You need patience I do not have.
A simple pancake cake recipe flips that stress upside down.
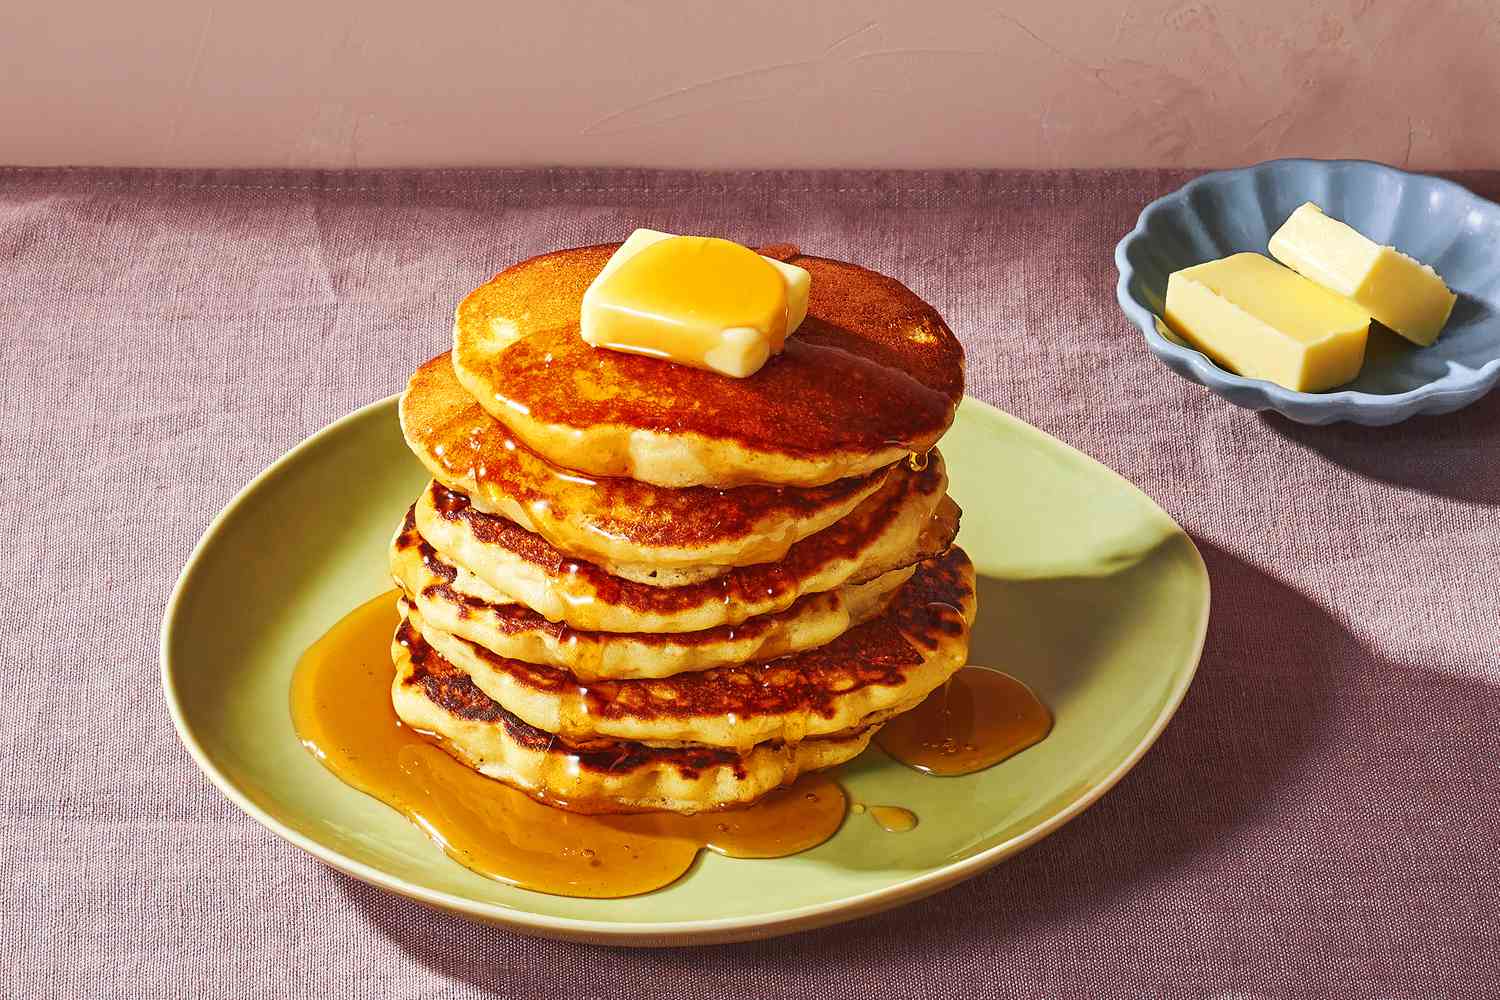
You bake standard round cake layers. You stack them with a thin brown butter frosting. Then you cover the outside in a pancake-textured buttercream. The final touch? A pat of yellow frosting and a drizzle of “syrup” made from caramel and maple.
No carving. No crumbling. No crying because your fondant cracked.
A friend tried her first hyper realistic cake last week. She followed a sculpted watermelon tutorial first. Failed. Wasted six hours. Then she tried the pancake stack method. Finished in two hours. Served it at brunch. Everyone thought it was real pancakes until she cut a slice.
That is the win. Fooling people without the headache.
The Exact Simple Pancake Cake Recipe I Use (Tested 3 Times)
I tweaked this recipe across four Sundays. My family got tired of eating “fake pancakes.” But the final version works.
Ingredients for the cake (two 8-inch rounds):
-
2 cups all-purpose flour
-
1.5 cups granulated sugar
-
1 cup buttermilk (room temperature)
-
3 large eggs (room temperature)
-
1 tbsp baking powder
-
1 tsp salt
-
1 tbsp vanilla extract
-
1 cup unsalted butter (softened)
For the pancake texture buttercream:
-
2 cups unsalted butter (softened)
-
4 cups powdered sugar
-
3 tbsp maple extract
-
1/4 cup heavy cream
-
2 tbsp corn syrup (for the pancake “browning” effect)
For the syrup drizzle:
-
1/2 cup maple syrup
-
1/4 cup brown sugar
-
2 tbsp butter
Step-by-step (no bakery degree needed)
Preheat oven to 350°F. Grease two 8-inch pans. Cream butter and sugar for four minutes until fluffy. Add eggs one at a time. Mix well after each. Add vanilla.
You Must Also Like: How Do You Make Store Bought Frosting Fluffier?
Combine dry ingredients in a separate bowl. Add dry mix to wet in three parts. Alternate with buttermilk. Start and end with dry mix.
Bake for 30-32 minutes. Let cool completely. This is critical. Warm cake melts the frosting.
The secret to pancake texture
Most people use a flat knife for frosting. Wrong move. Take a small offset spatula. Dab the buttercream onto the sides. Do not smooth it. Use a stippling motion. Tap, tap, tap. Create tiny peaks and valleys. That mimics the nooks of a real pancake.
Then take a kitchen torch. Lightly wave it over the buttercream for one second. Just enough to brown the tips. Not enough to melt. This gives you the “griddle marks.
Beginner Mistakes That Kill the Realism (And How to Skip Them)
I made every mistake so you do not have to.
1: Over-smoothing the frosting
Real pancakes are not smooth. They have bumps. If your cake looks like a drum, you failed. Use the stippling method above. Do not touch it after that.
2: Wrong syrup consistency
Too hot and it runs off the cake onto your plate. Too cold and it sits like a glob. Target a thickness similar to honey. Test by dripping a drop from a spoon. It should fall slow and hold a slight shape.
3: Using fondant for everything
Fondant tastes like sweet play-doh. Guests will be impressed by the look but disappointed by the bite. The buttercream method keeps the realism without sacrificing flavor.
Is a Pancake Cake Actually Good to Eat?
Yes. But with one condition.
The cake itself is a classic vanilla buttermilk cake. Moist. Dense enough to hold the syrup. The buttercream adds maple flavor. The syrup adds sticky sweetness. One slice is rich. Two slices push you into a sugar coma.
Here is the honest downside.
What Equipment Do You Actually Need?
You do not need a stand mixer. I used a hand mixer for three of my test bakes. Worked fine.
Essential:
-
Two 8-inch round cake pans
-
Offset spatula (small, not large)
-
Kitchen torch (or a crème brûlée torch)
-
Serrated knife
Nice to have but not required:
-
Turntable for frosting
-
Bench scraper (only for the initial crumb coat)
Do not buy:
-
Expensive carving tools
-
Fondant smoothers
-
Airbrush kits
I see beginners waste $80 on tools they use once. Keep it simple.
Who This Recipe Is For (And Who Should Skip)
This recipe fits you if:
-
You want a viral-worthy cake without sculpting
-
Your budget for ingredients is under $20
-
You have two hours maximum
-
You hate the taste of fondant
Skip this recipe if:
-
You need a gluten-free or vegan version (this is dairy and gluten heavy)
-
You want a cake that travels well (syrup moves during car rides)
-
You are entering a professional competition (this is a home baker hack)
How to Make This Google Discover Ready (Shareable Tips)?
Google Discover loves “save-worthy” content. Here is what readers actually save from this page.
The one-minute hack for pancake texture
Take a toothbrush. Clean one. Dip it in brown food coloring mixed with vodka. Flick the bristles toward the cake from six inches away. Tiny brown specks appear. Those are your “griddle spots.”
The lazy version
Buy two vanilla cake mixes from the store. Bake as directed. Use canned vanilla frosting. Mix in maple extract. Stipple with a fork instead of an offset spatula. Use store-bought caramel sauce for syrup. Add the butter pat. It is 80% as good. Takes half the time.
What to do with leftovers
Cube the leftover cake. Layer in a glass with whipped cream and extra syrup. Serve as a “pancake cake trifle.” Your guests will lose their minds.
Trust and Safety Notes (Because I Do Not Lie)
This cake contains a lot of butter and sugar. One slice has roughly 650 calories. Serve small slices. Pair with coffee or black tea. The sweetness needs balance.
Do not leave this cake out for more than four hours. The dairy in the buttercream turns. Refrigerate after serving. Bring to room temperature for thirty minutes before eating again.
The kitchen torch is safe but do not hand it to a child. I burned my thumb once. Respect the flame.
The Final Thoughts
Yes. But only if you want a low-stress win.
This is not the most technically perfect hyper realistic cake. A professional can sculpt a shoe that looks real. But that takes three days and a $200 class. Kids will poke it to check if it is real. You will feel like a genius for two hours.
And the best part? You actually want to eat it. No fondant peeling. No stale rice krispy center. Just cake that happens to look like breakfast.
Try it this weekend. Use the exact measurements above. Do not smooth the frosting. Do not skip the butter pat. And when someone asks if it is real, just smile and hand them a fork.
.